Thank You!
Thank you for visiting my website. It is with a heavy heart that I must announce that I have retired and I'm no longer marketing San Francisco Sourdough Starter and related tools and toys.
I appreciate all the wonderful people I met through this site over the years, and I will miss communicating with you.
Sincerely,
Linda
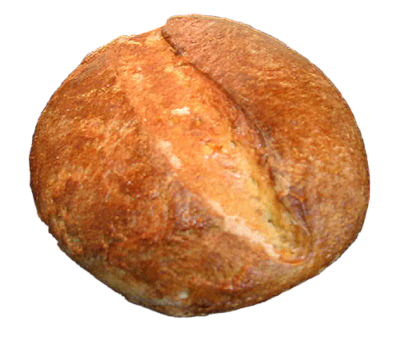
San Francisco Sourdough Bread Starter
$9.99 with Free Shipping
and a "No-Questions Asked" Replacement Guarantee
You can make that crusty flavorful San Francisco Sourdough Bread in your own kitchen -- I promise! With the Organic San Francisco sourdough starter along with my detailed instruction booklet that comes with every order and my free unlimited email tech support that is usually pretty fast and always free, you CANNOT fail! Your family and friends will not believe you baked this beautiful artisan sourdough bread yourself.
San Francisco Sourdough bread is made with wild yeast instead of packaged commercial yeast. The San Francisco sourdough starter that you will receive is made up of a tiny amount of flour, the live wild yeast organisms, and another live organism called a lactobacillus, which is what creates the sour flavor in your sourdough bread. If you'll follow the detailed instructions in the printed booklet you receive with your sourdough starter, you will not only make your own homemade sourdough bread, you'll have fun doing it. The San Francisco sourdough starter also makes wonderful pancakes and waffles too. Take a look at the sourdough recipes on the Recipes page.